Reading a study and submitting your report
Writing your report happens inside the DICOM viewer. Submitting it happens back in CloudPACS. The viewer does not submit anything on its own — you must return to CloudPACS to upload the signed PDF.
Step 1 — Open the viewer
Click Viewer (or Start Reporting) on the study's row. The DICOM viewer opens in a new browser tab, and the study moves to In Progress.
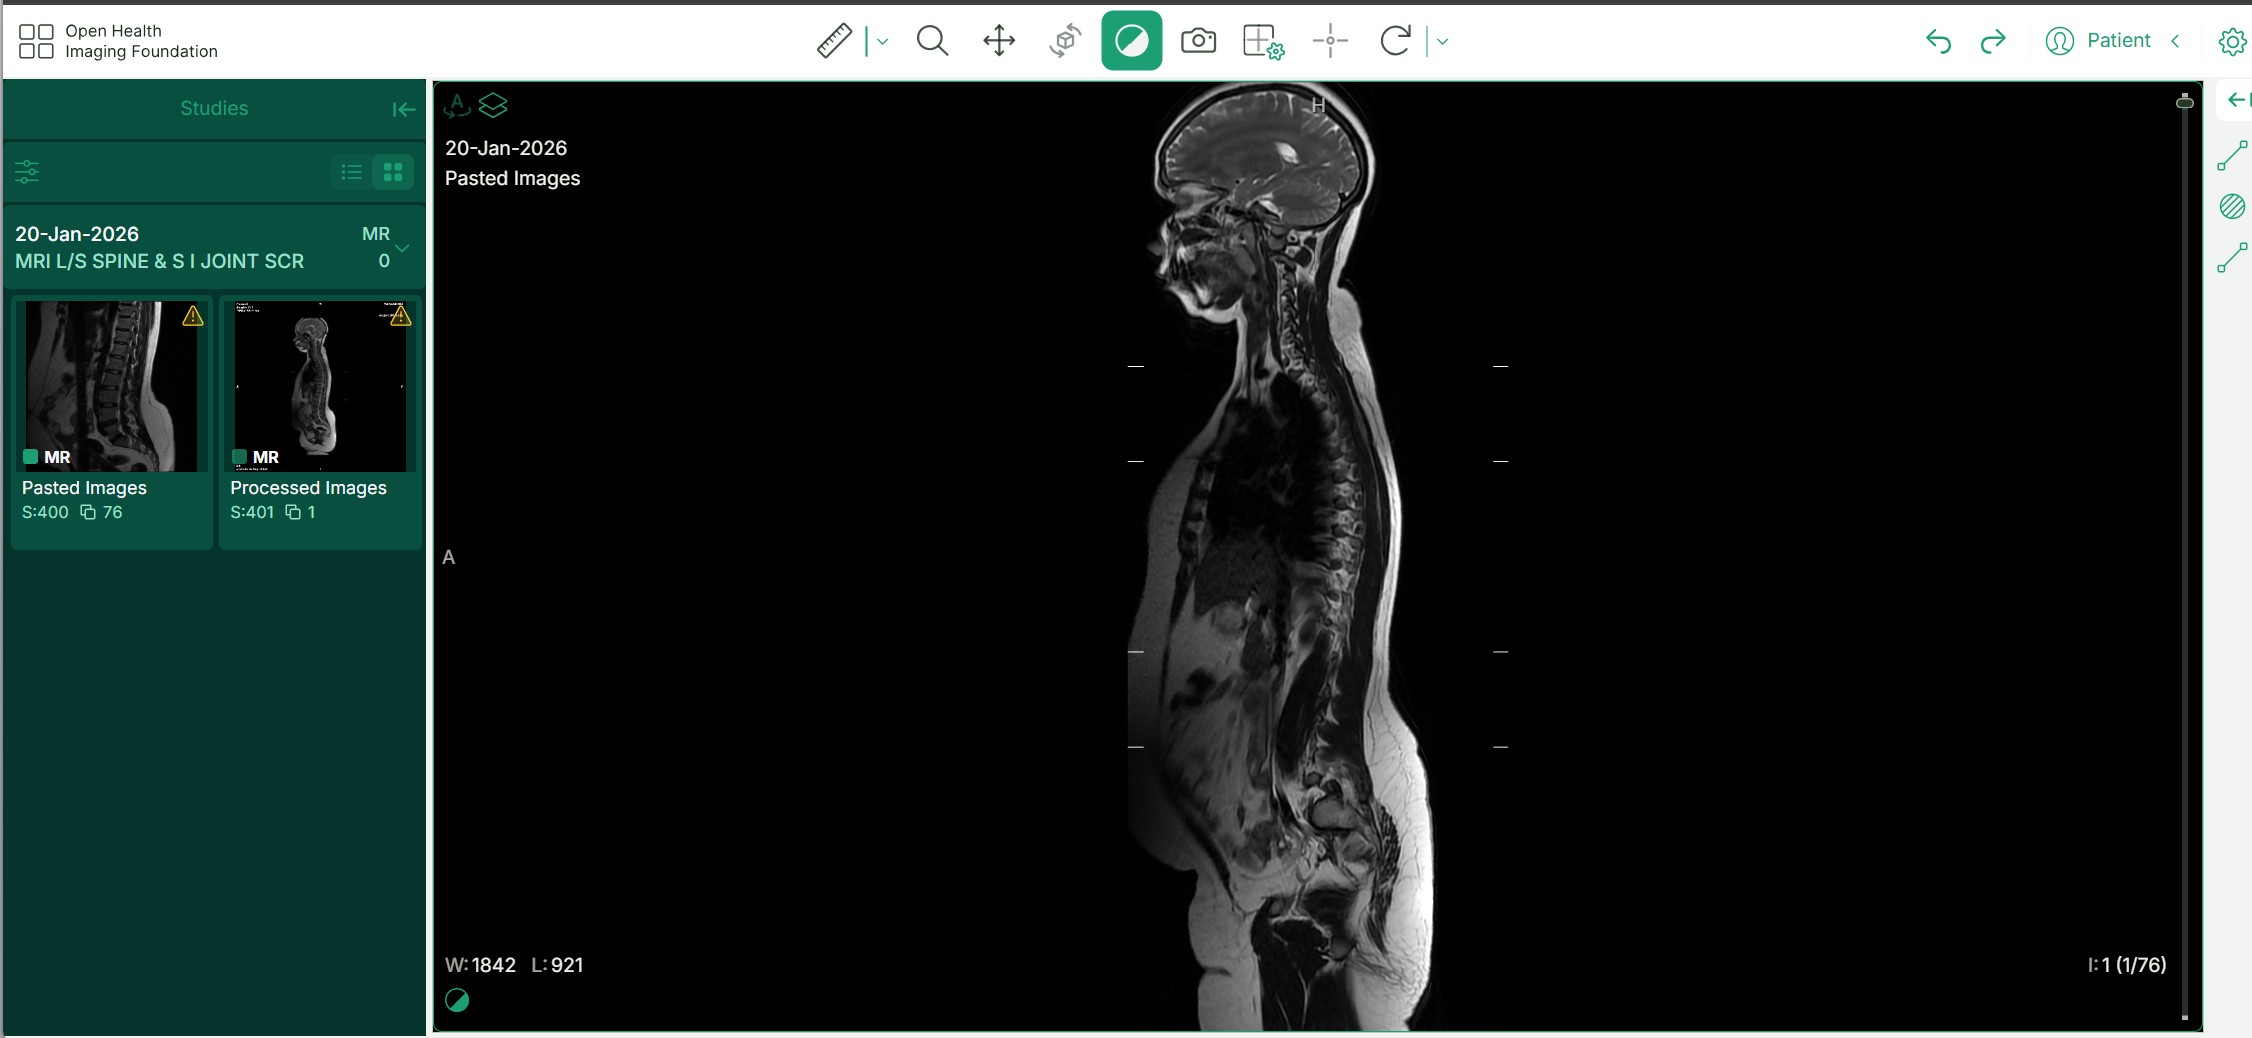 The DICOM viewer, opened on an allocated study.
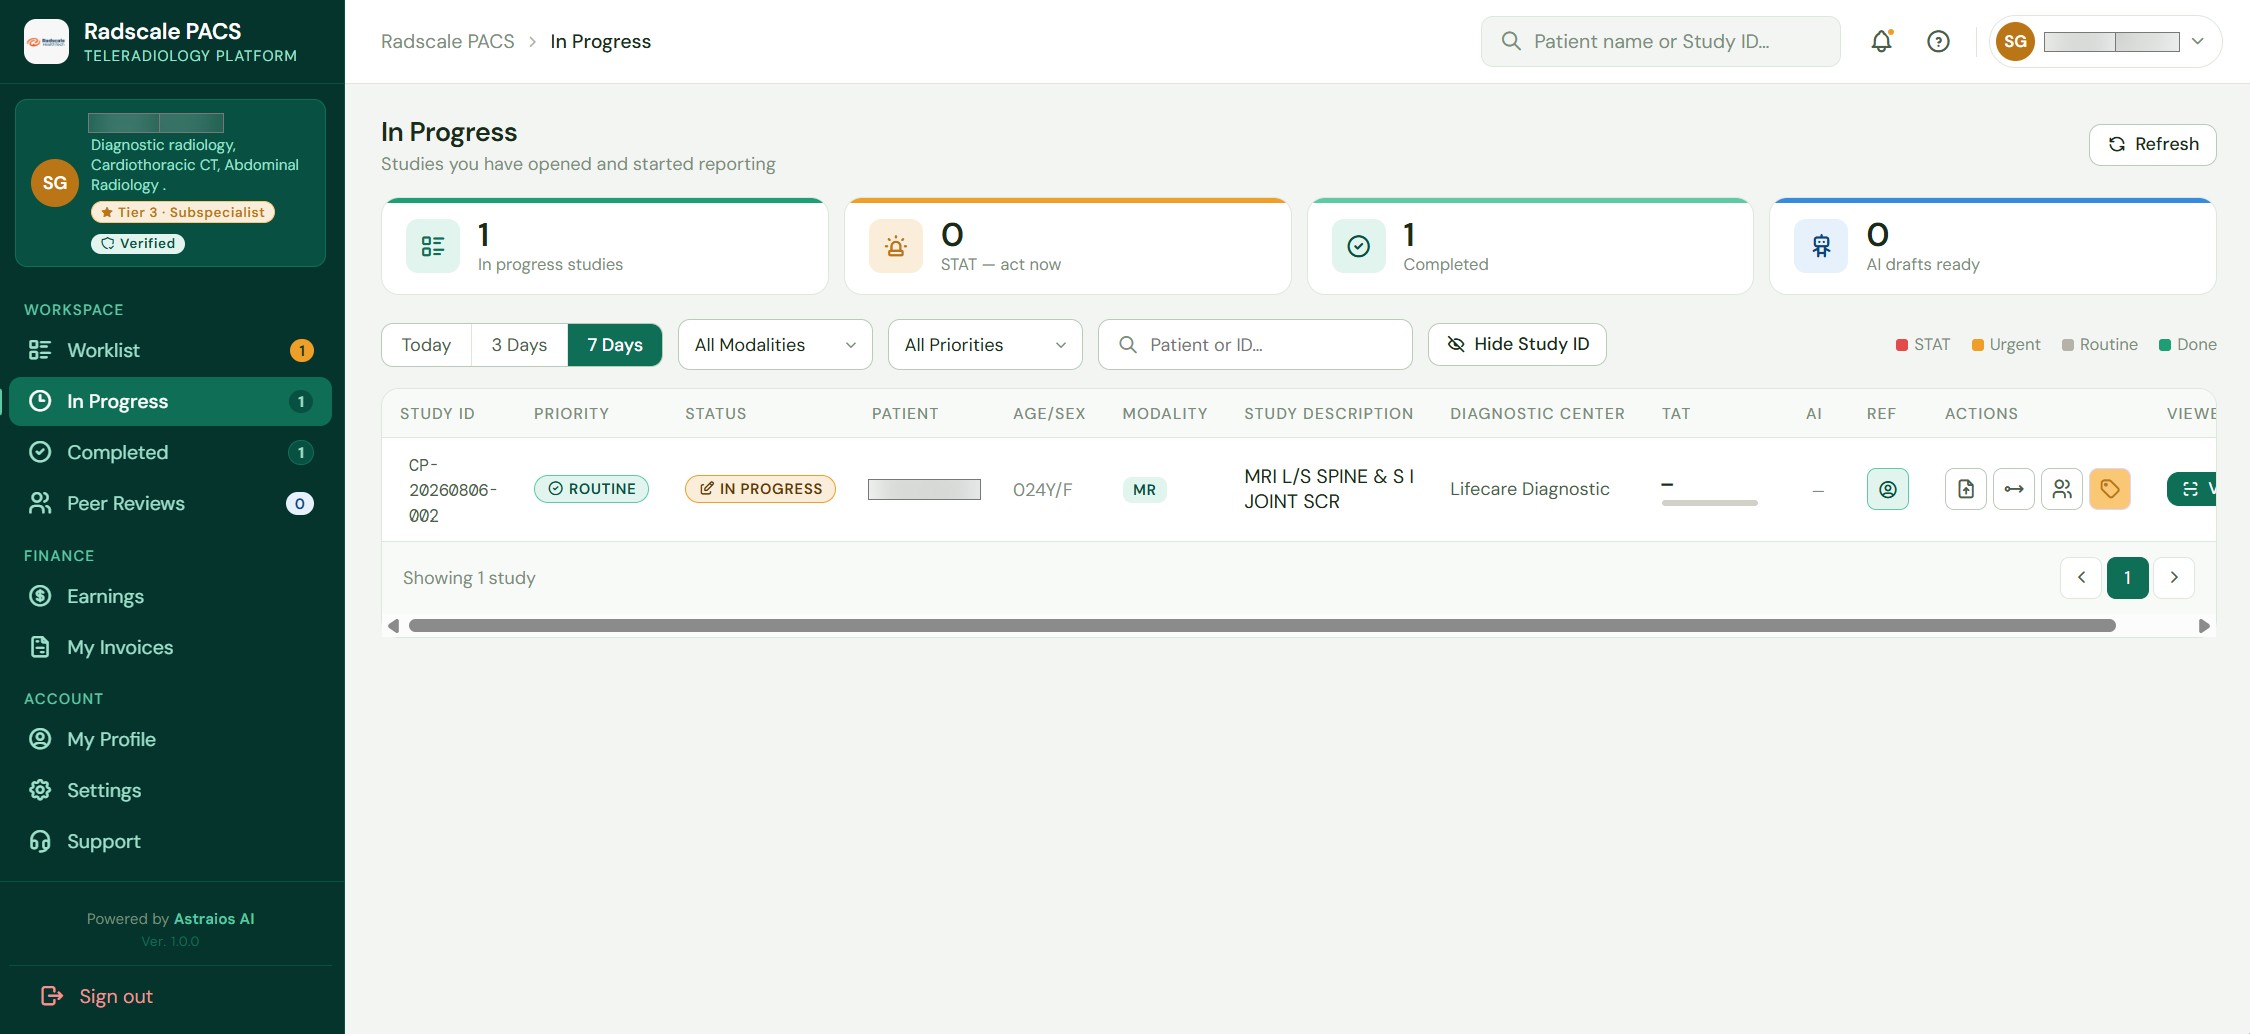 The study appears on your In Progress tab once you open the viewer.
Step 2 — Write your report in the viewer
In the viewer, open the Report panel from the right-hand side panel tabs. The report has five sections:
| Field | Required | Description |
|---|---|---|
| Technique | Optional | Imaging technique used |
| Clinical Information | Optional | Relevant history and indication |
| Findings | Required | Your systematic description of the images |
| Impression | Required | Your summary and primary diagnosis |
| Recommendations | Optional | Follow-up or further workup |
Templates
A Templates menu offers starting text for common study types:
- CT Chest
- MRI Brain
- CT Abdomen/Pelvis
- Chest X-Ray
Select a template and edit it to fit the study. Basic formatting (bold, italic, underline, lists) is available in each section.
Step 3 — Download your report
When your report is ready, click Download PDF at the top of the Report panel. Choose Draft or Final as appropriate. The PDF saves to your computer.
Step 4 — Submit back in CloudPACS
Return to your CloudPACS Worklist (or In Progress screen) and find the study.
-
Click Upload Report on the study's row.
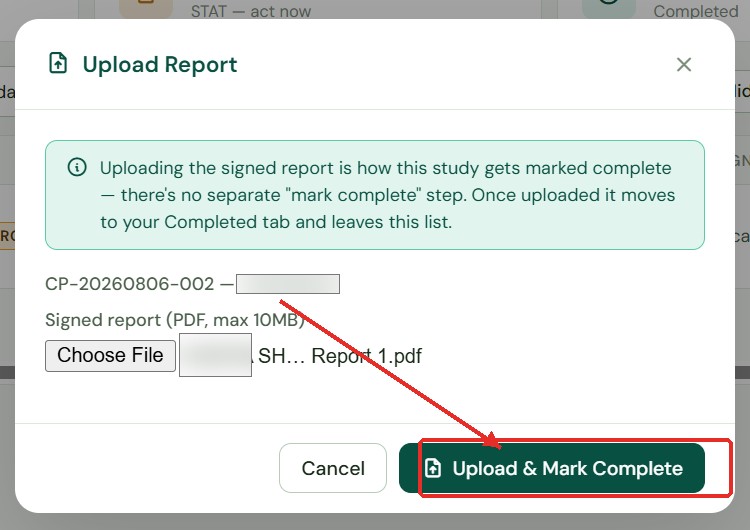 Click Upload Report on the study's row.
 -
Select the PDF file you downloaded from the viewer (PDF only, up to 10 MB).
-
Click Upload & Mark Complete.
This is the step that actually finishes the study. It records your signed report and moves the study to Completed — visible and downloadable to the hospital.
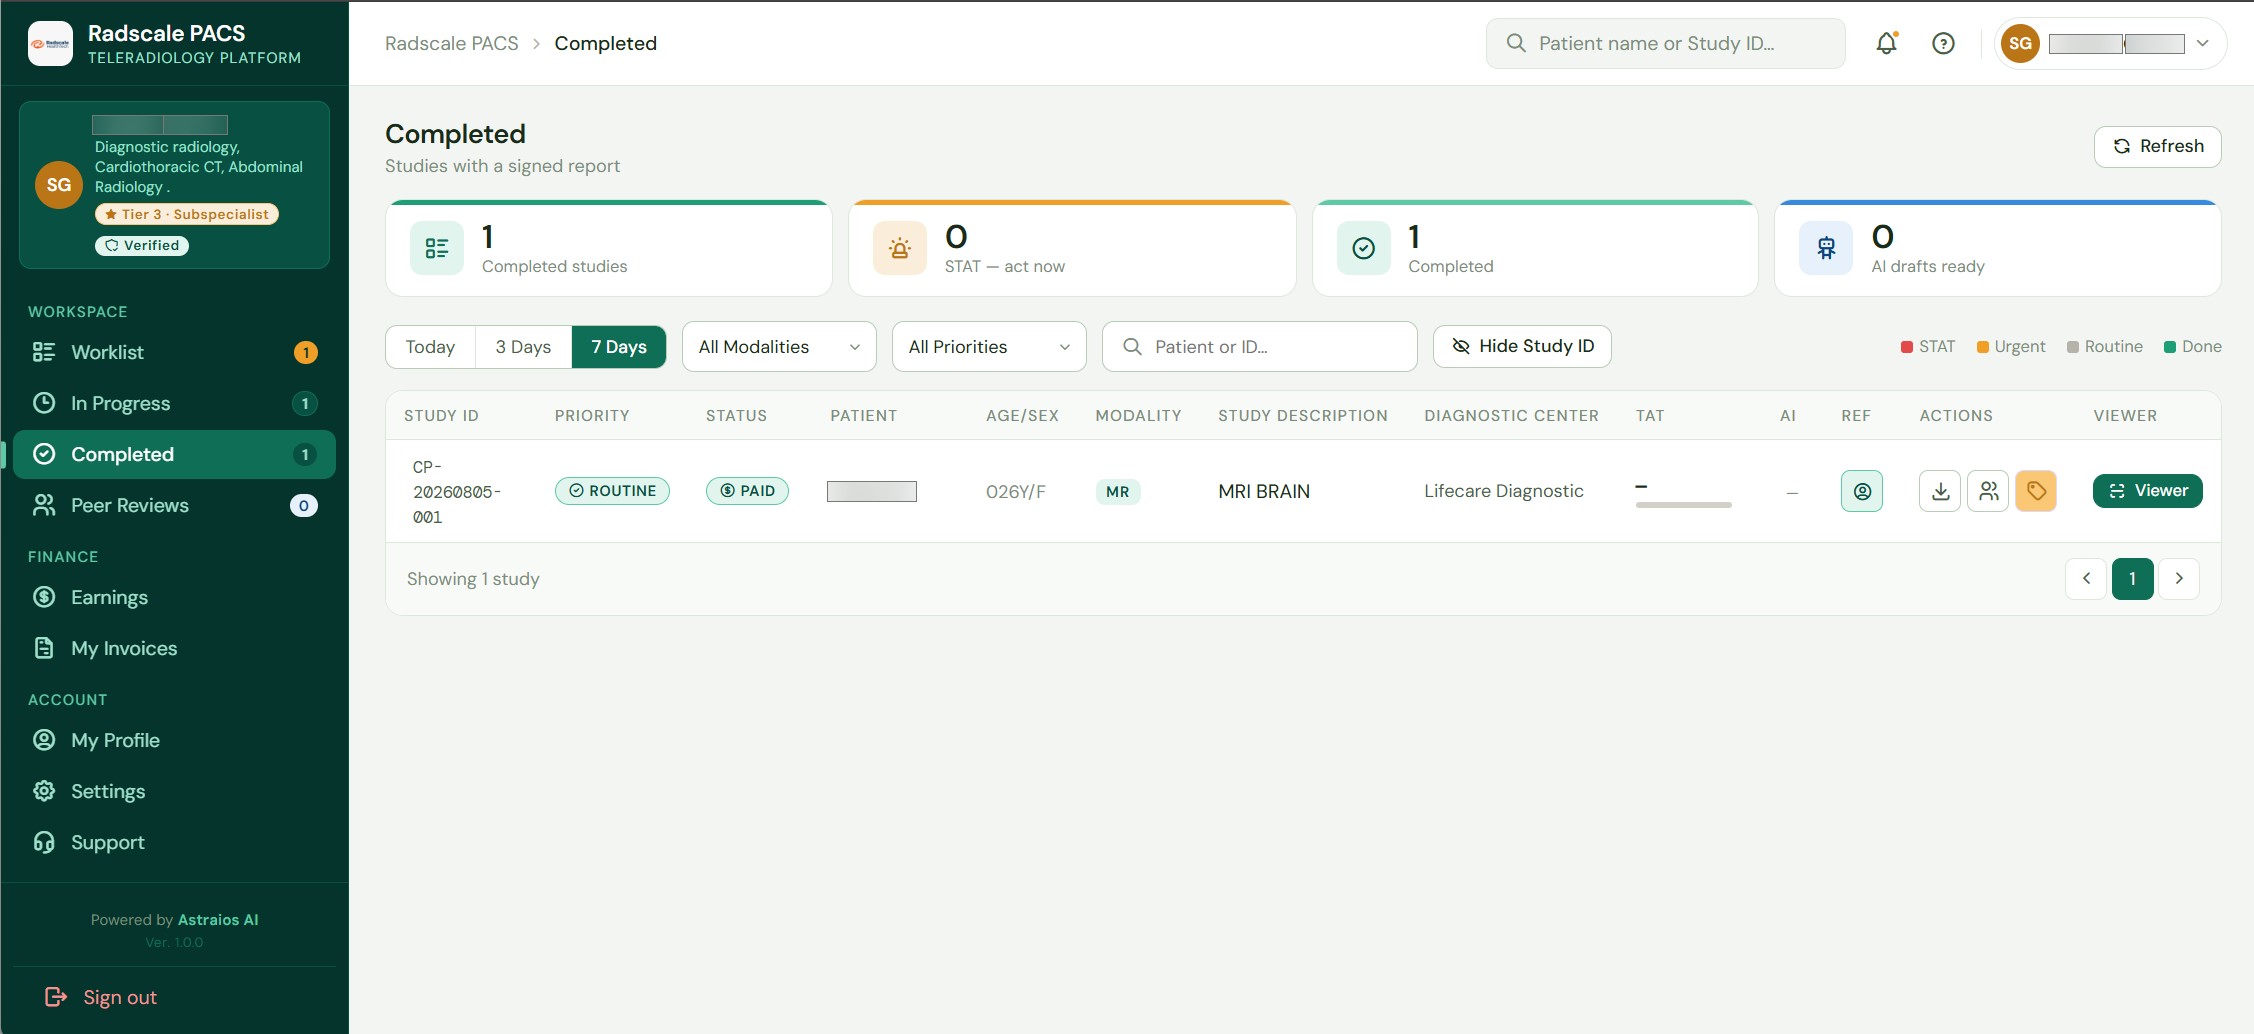 The study moves to your Completed tab, and is now available to the hospital.