Bulk upload
Both Upload Radiologist and Upload Hospital — in the top bar — follow the same two-step pattern: validate first, then confirm.
Uploading radiologists
-
Click Upload Radiologist in the top bar.
 Upload Radiologist — top bar.
 -
Choose an
.xlsxfile using the Rad_Minimal template (up to 5 MB). Optionally attach a photo zip. -
Click Validate. CloudPACS checks the file and shows a preview: name, official email, employee ID, medical licence, tier, specialty, and modalities.
 Validate preview — review before confirming.
 -
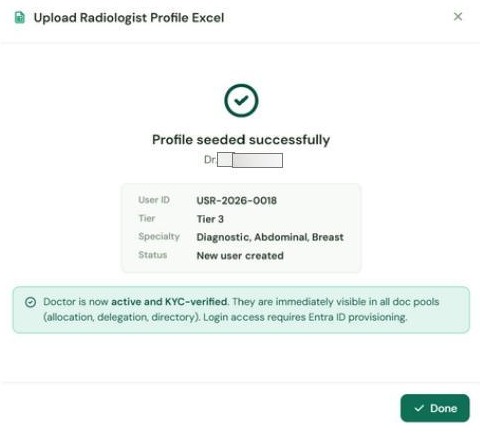
Review the preview carefully, then click Confirm Upload.
 Upload success confirmation.
If the email in the file matches an existing radiologist, that profile is updated rather than duplicated. This is how you edit a radiologist's details in bulk.
After upload, each radiologist must still have their Entra ID assigned separately before they can sign in. See Managing radiologists.
Uploading hospitals
-
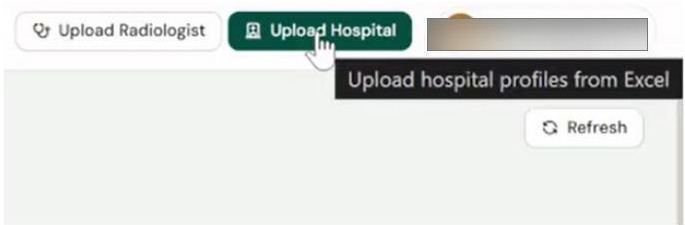
Click Upload Hospital in the top bar.
 Upload Hospital — top bar.
 -
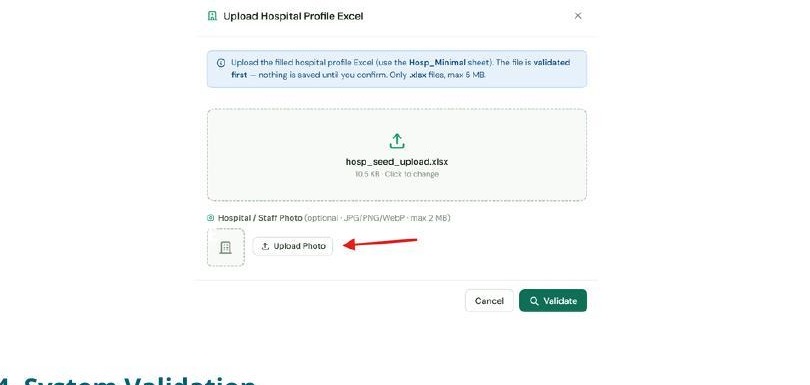
Choose an
.xlsxfile using the Hosp_Minimal template (up to 5 MB). -
Click Validate and review the preview: hospital name and type, city/state, country, manager and staff contact details.
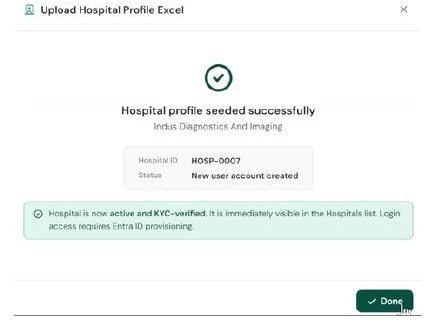 Validate preview for hospital upload.
 -
Click Confirm Upload.
Hospitals added via bulk upload are created as Inactive until you assign their Entra ID — which also activates the account automatically. See Managing hospitals.