All Studies
This screen lists every study uploaded to the platform, across every hospital.
Tabs and filters
- Tabs: All Studies, Unallocated, Allocated, Completed
- Date range: Today, 3 Days, 7 Days
- Modality filter and Priority filter
- Search box: matches patient name or study ID
Two columns drive the workflow:
| Column | Purpose |
|---|---|
| Action | Holds Allocate or Resubmit depending on the study's status |
| Viewer | Launches the DICOM viewer for that study |
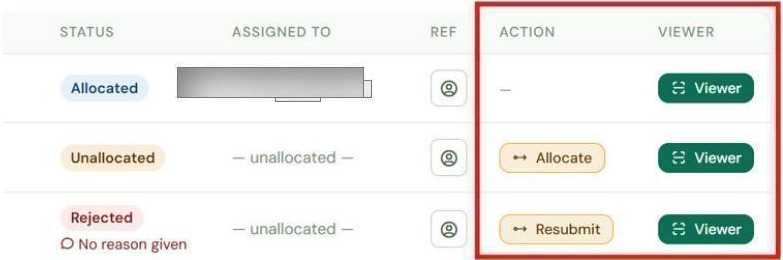 The Action and Viewer columns.
Allocating a study to a radiologist
A study becomes allocatable once the hospital has attached a referral — see Part 2, "Attaching a Referral". It appears in the Unallocated tab with an Allocate button.
- Click Allocate on the study's row.
- In the Allocate Study window, review the study details shown at the top.
- Select a radiologist from the list of active doctors.
- Optionally add a note for the radiologist.
- Click Confirm Allocation.
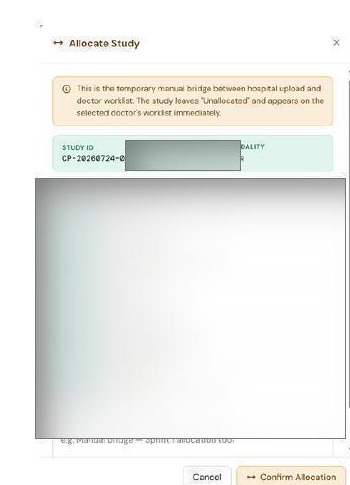 The Allocate Study window.
The study leaves Unallocated and appears on the selected radiologist's Worklist immediately.
Resubmitting a rejected study
If a radiologist declines a study, it returns to you with a Resubmit button in place of Allocate. The Resubmit window shows which radiologist rejected it and their reason (if any). Resolve the issue, then use the same steps as allocating — to the same radiologist, or to someone else.
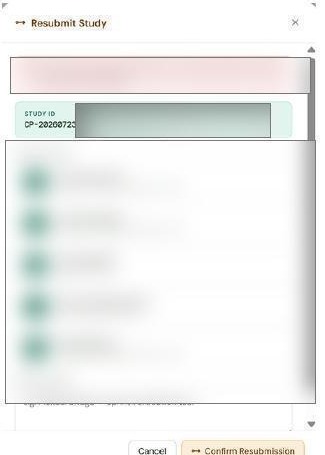 The Resubmit Study window.
Viewing the referring doctor
Click the referral icon on a study's row to see the referring doctor's name and contact number, and the referral image the hospital attached — without leaving the list.
Opening a study in the viewer
Click Viewer on any row to open that study's images in the DICOM viewer in a new browser tab, exactly as a radiologist would see it.