Uploading a study
Starting an upload
On the Dashboard, click Upload New Study — also available in the top-right below the top navigation bar from any screen.
 Upload New Study — top-right, below the top navigation bar.
Selecting files
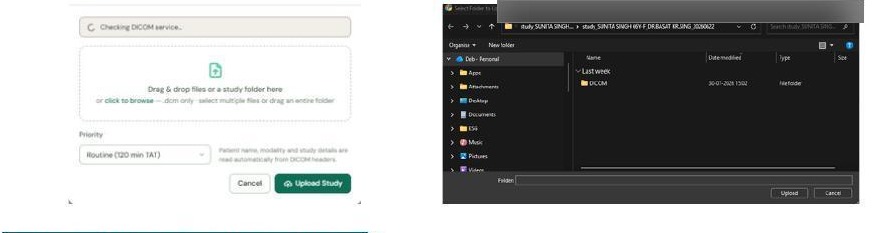
Drag and drop your study folder into the upload modal, or click Browse to select it.
 Drag and drop into the upload modal, or browse for a study folder.
Upload the full DICOM study folder, not individual image files. CloudPACS reads the DICOM metadata automatically — patient name, DOB, modality, and study description are pulled directly from the files.
Setting priority
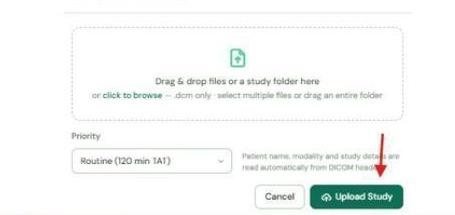
Choose a priority for the study:
| Priority | Turnaround expectation |
|---|---|
| Routine | Standard turnaround |
| Urgent | Faster turnaround |
| Stat | Immediate — for critical cases |
 Choose a Priority: Routine, Urgent, or Stat.
Priority affects the radiologist's TAT countdown. Stat studies are escalated immediately.
Upload status
If uploads aren't working, check the status banner at the top of the upload window — it shows whether the CloudPACS upload service is currently available.
After upload
Once uploaded, the study appears in All Studies with the status Awaiting Referral. You must attach a referral before the Administrator can allocate it to a radiologist.